Backing up an iPhone via iTunes on Windows is more or less a painless affair. Plug your iPhone into your computer -> Fire up iTunes -> and get through the usual chore. As painless as the whole process sounds, there are times when the iPhone backups fail on Windows without any obvious reasons. Having been through this frustrating issue a few times, I have figured out a few major roadblocks that often tend to prevent an iPhone from backing up on a Windows computer. And that’s precisely what I’m going to point out and discuss in this short piece. Keep reading…
Why Your iPhone Backup Failed on Windows Computer: 7 Major Reasons
From a worn-out USB cable to a faulty USB port to a frustrating alert, you need to take care of several key things to ensure your iPhone backup doesn’t fall short abruptly.
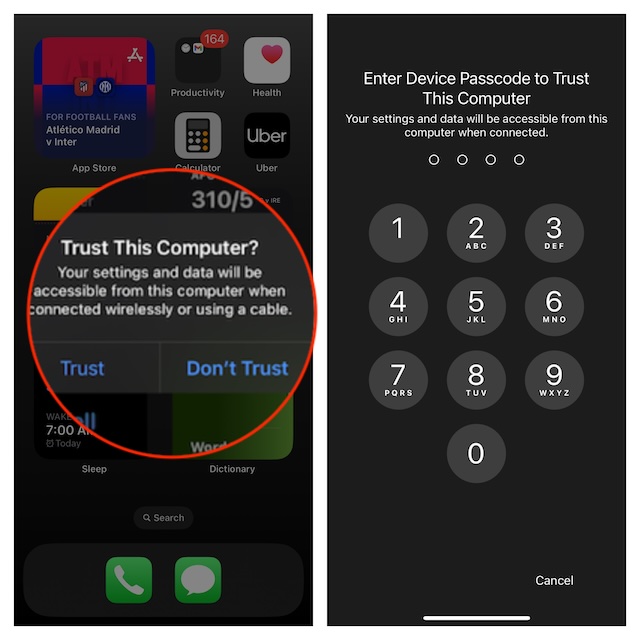
1. You Failed to Take Note of the Trust Alert
Bear in mind that while your iPhone is being backed up, you might be prompted to trust the computer multiple times. Though it sounds a bit weird, it has happened to me a few times. So, I can confirm its occurrence.
- Whenever you get a trust alert on your iPhone, make sure to tap on Trust/Allow in the popup.
- After that, be sure to enter your device passcode to confirm the authentication.
2. Your iPhone Got Locked Out
Another annoying roadblock that tends to prevent an iPhone from being backed up via iTunes is if the iPhone gets locked out mid-way. During the backup process, keeping the iPhone unlocked may let you breeze through the process without any hiccups.
- Head into the Settings app on your iPhone -> Display & Brightness -> Auto-Lock -> Choose Never.
- Once the iPhone has backed up successfully, navigate to the same Auto-Lock setting and choose the lower auto-lock option.
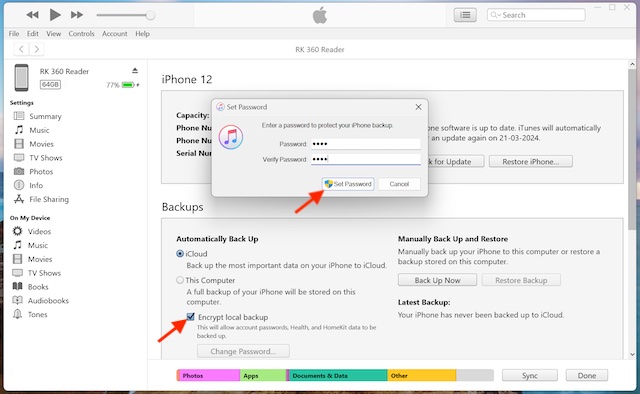
3. You are using a Fake or Frayed USB Cable
If your USB cable is fake or worn out, it might fail to get the job done – in the very first place. First, it prevents the iPhone from being detected by iTunes. Even if your iPhone passes through this first step, there is no guarantee that the cable will stay true throughout the backup process. To me, this is the most important requirement that you must take care of without fail.
4. You Haven’t Updated iTunes for Ages
An outdated version of iTunes has a high reputation for throwing weird tantrums. If you haven’t updated this noted but rather messed up app for ages, there is a high chance that the outdated iTunes version could be spoiling your party.
- Dive into the iTunes app on your Windows -> Click on the Help menu at the top.
- Now, click “Check for Updates” and then force the app to upgrade to the latest version.
5. You Disconnected Your iPhone from the Computer
Unless and until iTunes has confirmed that your iOS device has been backed up, you must not disconnect your iPhone from the computer. Yeah, you read that right! Every single time you kickstart the backup process, it starts from the naught. Therefore, keep this essential thing in mind whenever you get down to backing up the device.
- If you do not have enough time, better leave it for leisure time when you can allow the backup to complete with complete peace of mind and also be able to keep a tab on the whole process.
6. Less Stable Connection
But what if your iPhone cable is up to the mark, iTunes is updated, and you have checked off all the key boxes carefully but still the backup fails? Well, it might be due to the faulty port of your computer which could be preventing the cable from making a secure and stable connection.
- Try connecting your iPhone cable to a different cable to check if you have gotten the better of the problem.
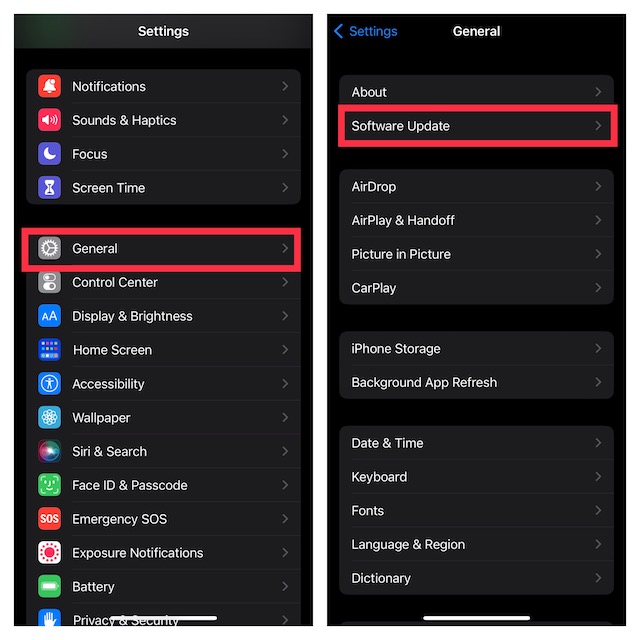
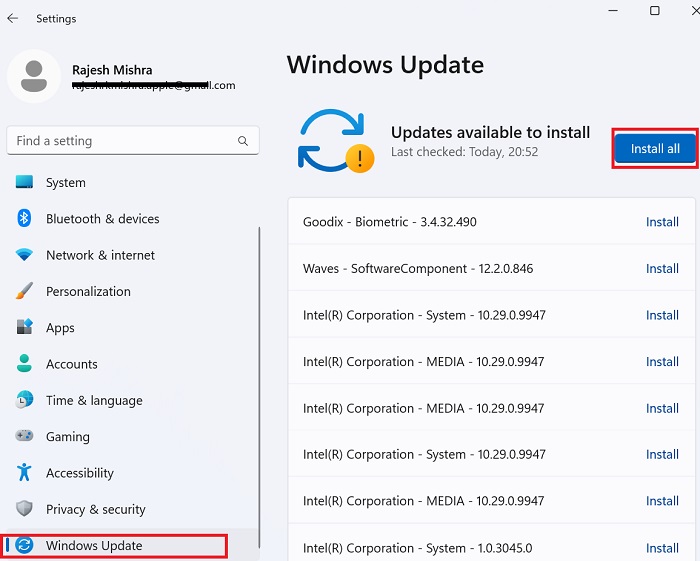
7. Miscellaneous Software Glitches
Note that miscellaneous software glitches are part and parcel of software including Windows 11 and iOS 17. Thankfully, getting rid of the random software glitches is never a big deal.
On most occasions, you can fix miscellaneous software issues by just rebooting your devices. If the soft reset doesn’t yield the desired result, updating the software will let you overcome the hurdle – more often than not.
- On iPhone: Open the Settings app -> General -> Software Update.
- On Windows: Go to the Start menu -> Settings -> System -> Windows Update.
There you go! Well, that concludes this guide about finding the iPhone backup culprits and taking them into account. I hope you have managed to put the problem behind and backed up the iOS device without any obstructions. Cool, let me know your feedback and the tips that have rescued your iPhone.
Read more: 7 Tips to Fix “Can’t Transfer Photos” from iPhone to Windows 11