If you spend hours sitting in front of your computer, you should make sure to take control of the harmful blue light sooner rather than later. Otherwise, it will harm your eyes and cause eye strain that will severely impact your sleep. Fortunately, Windows offers a neat feature called Night Light to let you filter blue light on your PC. Follow along to learn how to enable and customize the blue light filter on your Windows PC.
Enable and Customize Night Light on Windows PC
Blue light, also known as high-energy visible light, is designed to enhance attention and make viewing digital devices like computers and smartphones a pleasing experience. However, prolonged exposure to this light is deemed to trigger eye fatigue and affect sleep patterns.
Slightly buried inside the Accessibility setting exists a feature named “Night Light”. When activated, it blocks blue light on your PC by using warmer colors so that you can work hours on your computer without being worried about issues like eye strain. Depending on your needs, you can choose to activate it at will or turn it on automatically based on a specific schedule.
- On your PC, go to the Start menu and choose Settings app.
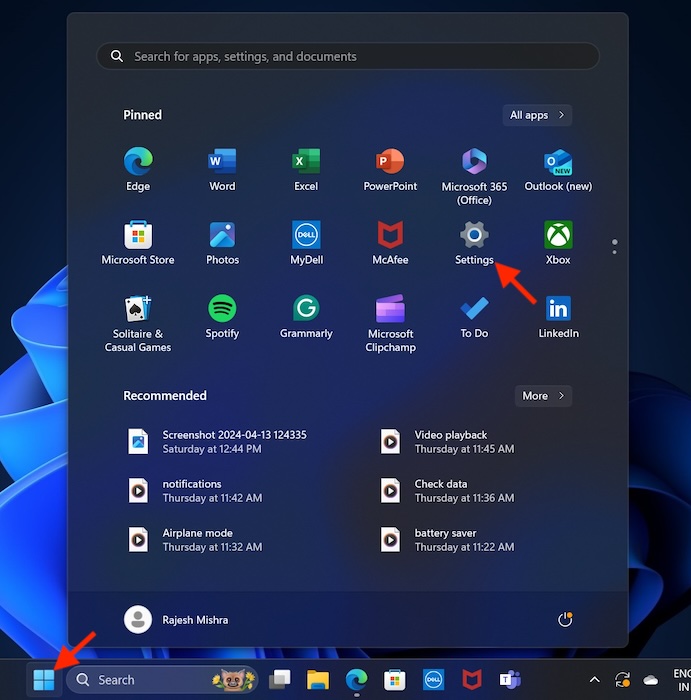
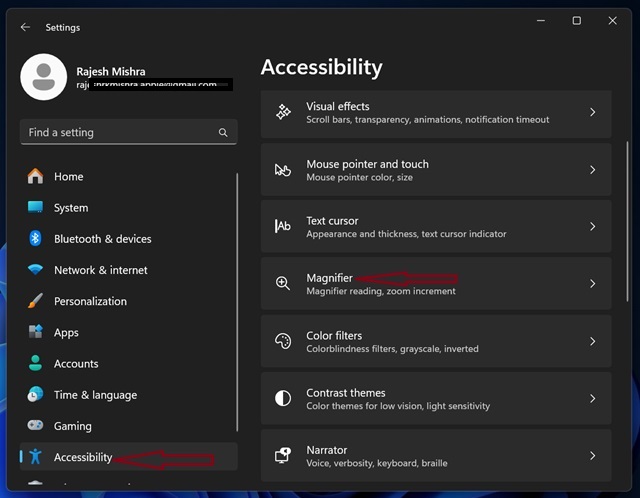
- Select Accessibility in the left sidebar and hit Magnifier on the right.
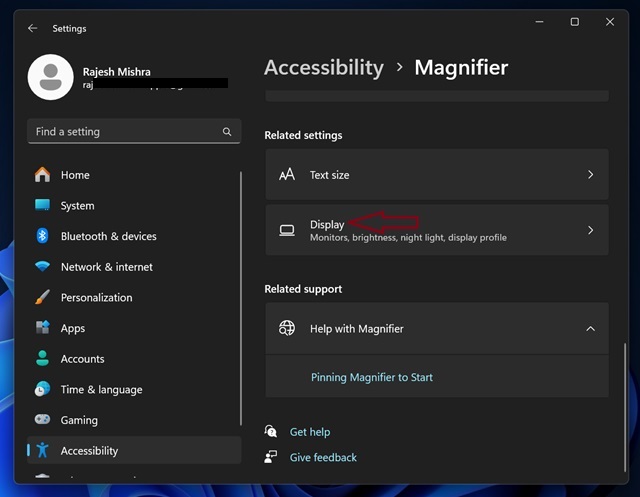
- Scroll down and choose Display located under the Related settings section.
- Finally, turn on the toggle next to the Night light and you are good to go!
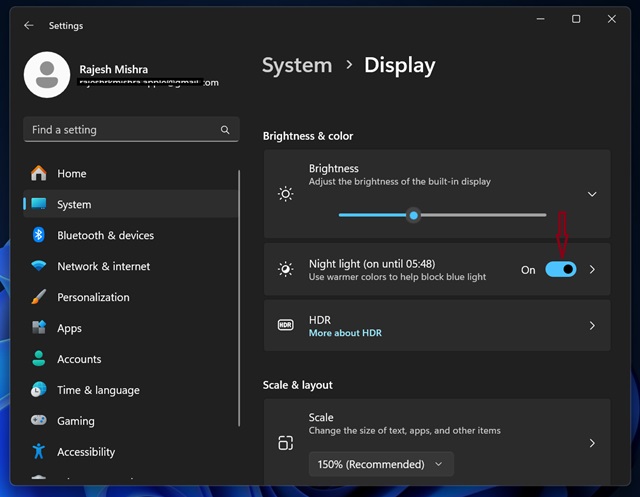
The night light will come into action right away and reduce the blue light by making the best use of the warmer colors.
Customize Blue Light Filter on Your Windows PC
- Head into the Start menu -> Settings app -> Accessibility -> Magnifier -> Display -> Click on the tiny arrow right next to Night light.
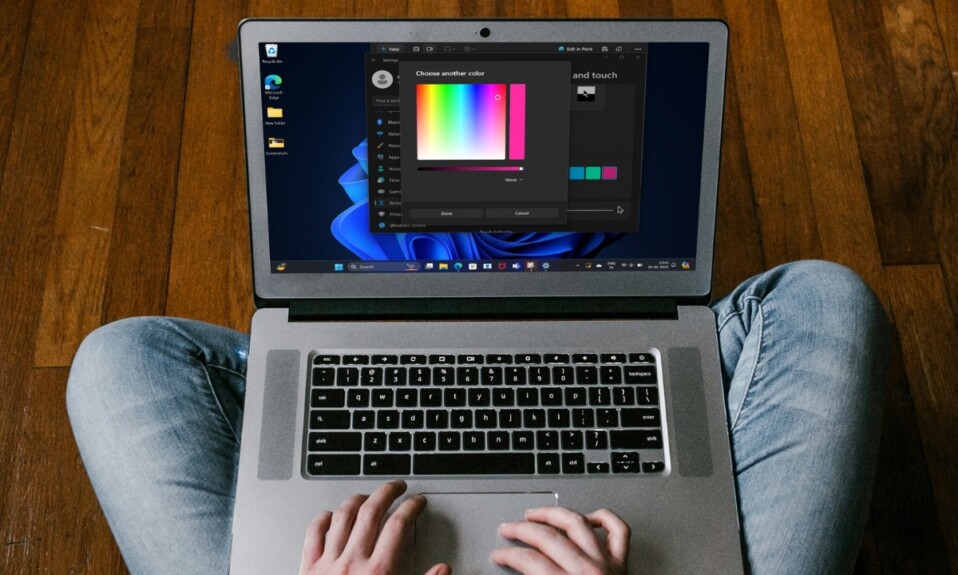
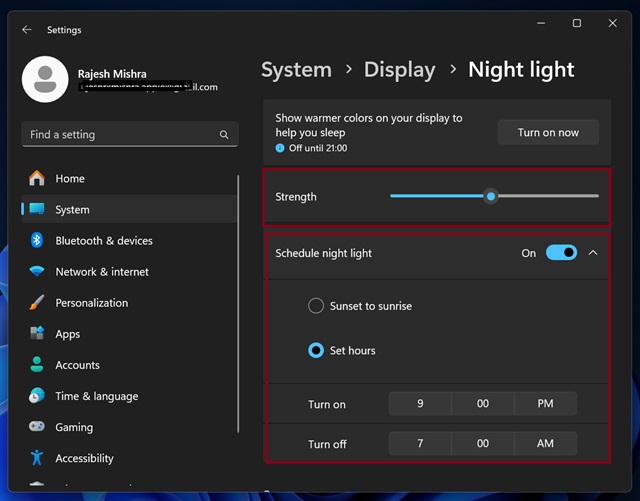
- After that, you can use the slider to perfectly adjust the strength of the night light.
- In order to schedule the night light, click on the toggle next to “Schedule night light”.
- Next up, you have two options:
- You can either keep it enabled from sunset to sunrise or turn it on during custom hours. For custom duration, click on the circle for Set Hours and then customize the time as per your needs.
There you have it! So, that’s how you can make the most of the Night Light to safeguard your eyes against the blue light. Hopefully, your eyes will no longer burn or your sleep will feel restless.