There are all sorts of reasons why you should back up your iPhone from time to time. For one, it keeps your data secure and readily available. And if ever the need arises to get back any sensitive data in the event of accidental loss, it also lets you restore the backup at your own pace. For enhanced security, you can encrypt your iPhone backup on your Windows computer to prevent unauthorized access. Keep reading…
Create a Password-Protected iPhone Backup on Windows Computer
Wondering why should you bother about protecting your iPhone backup with a password? Well, let me first clear it out for better clarity.
What Data is Included in the Encrypted Backup?
Aside from adding an extra layer of shield to your backup, encryption also lets you back up some other important information. Have a look at the list of additional information that is included in the encrypted backups –
- Wi-Fi settings
- Website history
- The saved passwords
- Health data
- Call history
Note that the encrypted backup made via Finder or iTunes doesn’t include Face ID/Touch ID or the device passcode.
Create an Encrypted iPhone/iPad Backup via iTunes on Windows Computer
Ensure that your device is running the updated version of iTunes. Click on the Help menu in iTunes -> Check for Updates and then update the app if needed.
- To get going, connect your iPhone to your computer with the supported USB cable.
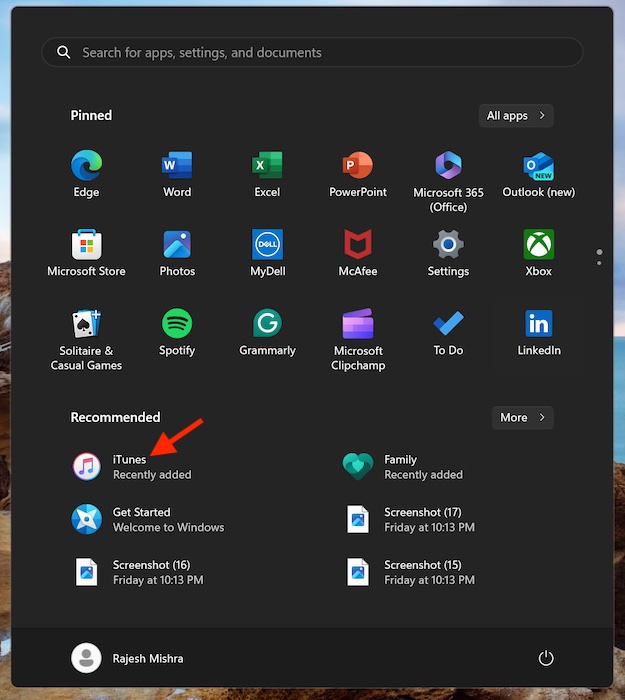
- Next up, you have to launch the iTunes app to proceed.
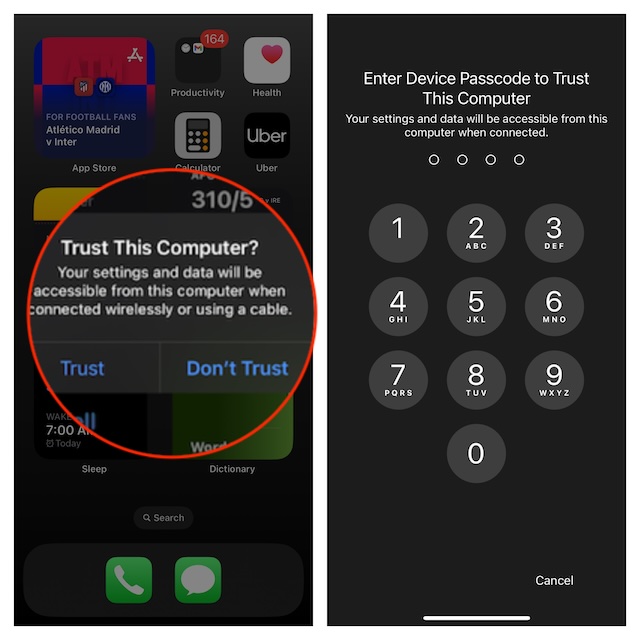
- If prompted, be sure to trust the computer.
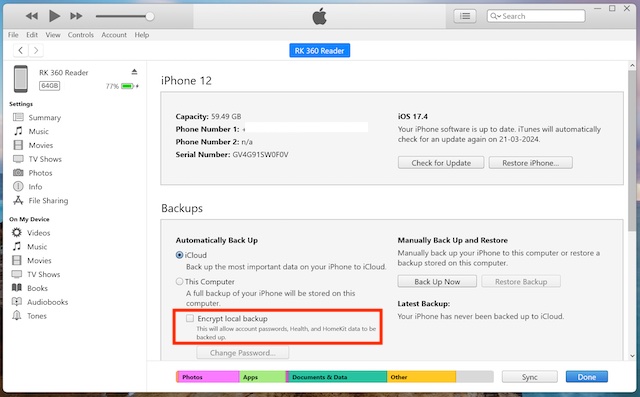
- After that, select the device icon showing at the top left of the iTunes window.
- Now, ensure that the Summary tab is selected in the left sidebar.
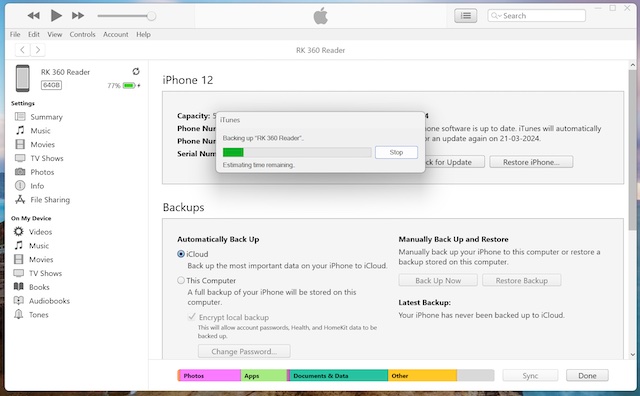
- Next, check the box to the left of the “Encrypt local backup” option that shows under the Backups section.
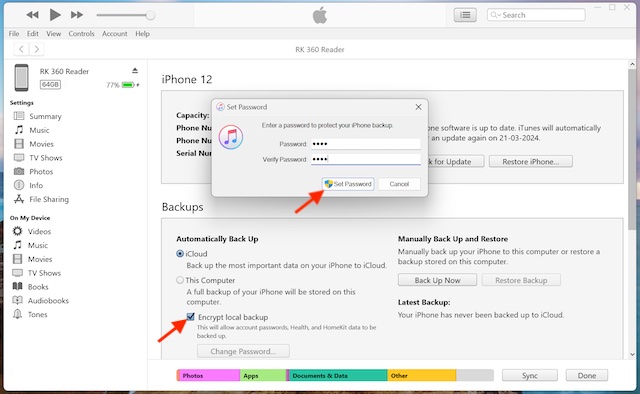
- When asked, make sure to create a password. Keep in mind that you won’t be allowed to use your device backup without this password. Therefore, be sure to create a password that you will be able to remember. The better way to deal with it is to note down the password and save it at a safe location.
After you have confirmed your password, your backup will kickstart straight away. As to how long you will have to wait for it to finish, it all boils down to the total file size of your device. So, allow the whole process to complete without any interference. Going forward, iTunes will automatically encrypt the backup of your iDevice.
View Your Encrypted iPhone/iPad Backups on Windows Computer
- Connect your iOS or iPadOS device to your Windows computer and then fire up iTunes.
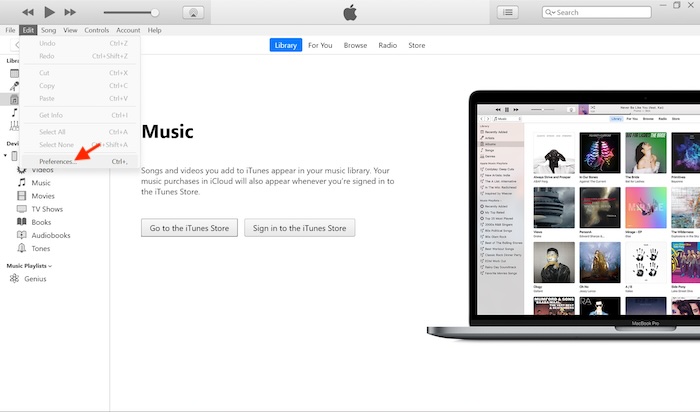
- Now, click on the Edit menu -> Preferences -> Preferences.
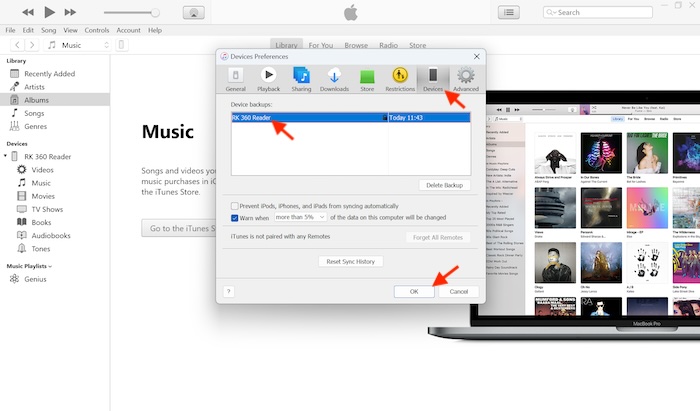
- After that, click on the Devices tab.
- If a lock icon shows up next to your device’s name, that means the backup has been encrypted. Additionally, you should also see the date and time the backup had been created.
- Next, click OK to get rid of the backup window.
Restore Backup Via iTunes on Your Windows Computer
- To begin with, connect your device to your computer with the help of a compatible USB cable.
- Now, open iTunes and click on the device icon at the top left corner of the screen.
- Make sure that the Summary tab is selected.
- Next, click on Restore Backup.
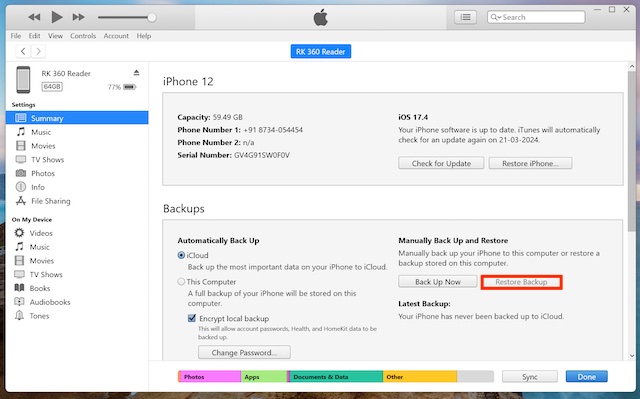
- Choose the most recent backup of your device.
- If the backup has been encrypted, you will need to enter your encryption password.
There you have it! So, that’s how you can securely back up your iPhone on Windows and restore the backup if the need ever arises. By and large, the process is plain sailing and reliable. Did you find this hands-on guide helpful? Feel free to share your invaluable insight in the comments below.
Read more: How to Enable and Customize Dark Mode on Windows 11