As against the popular misconception, importing photos from iPhone to Windows is much easier than many people think. So, whether you have switched from Mac to Windows or want to free up plenty of storage on your iPhone by moving all of your images to a safe location on your PC, this guide has got you fully covered. Read on…
Seamlessly Transfer Photos from iPhone to Windows 11
To ensure you don’t get caught mid-way through the process, be sure to first tick off all the important requirements.
What are the requirements for transferring images from iOS to Windows?
To begin with, you need to take care of multiple essential things including –
- Ensure that the iTunes app is installed on your Windows computer.
- Besides, you should also make sure that iTunes is updated on your computer. Launch iTunes on your computer -> Click on the Help menu -> Check for Updates. If there is an update available for iTunes, install it.
- Make sure you have a certified USB cable. Keep in mind that if your cable is not certified, iTunes might not detect your iPhone. Therefore, be sure to check off this requirement without fail.
Step-By-Step Guide to Moving Photos from iPhone to Windows Computer
Once you have taken care of the prerequisites, run through the steps below.
- First off, connect your iPhone to your Windows computer.
- Now, turn on your iPhone and ensure that it’s unlocked.
- If prompted, make sure to trust the computer to proceed.

- Next, click on the “Start” button.
- Next, open the Photos app on your computer.

- Next up, click on the Import button at the upper right corner of the user interface.
- Up next, choose the “From a connected device” option.

- After that, be sure to follow the usual instructions.
- Based on your needs, you can choose the items you want to import from your iPhone
- Finally, select the location where you would like to save your photos.
- Now, wait for the photo transfer process to complete. Keep your iPhone connected to the computer and allow the whole process to finish without any interference. As to how long it will take for the process to complete, it all depends on the total file size.
Transfer Photos from iPhone to Windows Using iCloud Photos
With iCloud Photos, importing images from iOS to PC is even more straightforward.
- To get started, install iCloud for Windows on your PC and launch it.
- After that, sign in to your iCloud account.

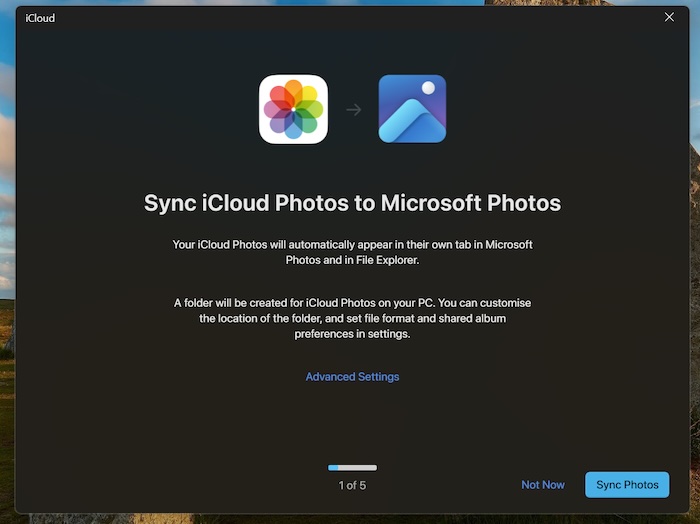
- Next, go through the instructions to sync your iCloud Photos to Microsoft Photos.
There you go! I hope you have gone through the process with consummate ease. Let me know your feedback. And yes, if an unknown problem has hindered your photo transfer, check out this detailed guide to resolve the issue.
Read more: Lifelong Mac User Switches to Windows PC: My First Impression