Using iCloud passwords on iDevices is literally a piece of cake. Whether you are rocking an iPhone, dealing with an iPad, or daily-driving a MacBook, you can count on iCloud Keychain to let you seamlessly fill in passwords. However, the moment you get out of Apple’s walled garden, dealing with the saved iCloud passwords becomes a bit of a hassle.
To mitigate this very issue, Apple has introduced a full-fledged “iCloud Passwords” app for Windows, which lets you access and manage your security keys with ease. Read on to learn how to set up and use iCloud Passwords on Windows.
Set Up and iCloud Passwords on Windows
Before going any further, let’s first tick off all the essential requirements!
What are the requirements for setting up iCloud Passwords on a Windows PC?
- Ensure that you have enabled the two-factor authentication for your account.
- On iPhone or iPad, head into the Settings app -> Apple ID banner -> Sign-In & Security -> make sure the Two-Factor Authentication is turned on.
- On Mac, go to the System Settings app -> Apple ID banner -> Sign-In & Security -> Make sure that Two-Factor Authentication is enabled.
- Talking about software compatibility, the device receiving the security codes needs to have iOS 14, iPadOS 14, or macOS 11, or later.
- If you are using an iPhone/iPad, ensure that Advanced Data Protection for iCloud is turned on.
- If you are using a Mac, make sure your macOS device is within Bluetooth range of your Windows PC.

- Keep in mind that if you moved a password into a shared group on your iPhone, iPad, or Mac, you won’t be allowed to access it on your Windows computer. To access the password on your Windows device, you will have to add it back manually.
- It’s also worth pointing out that when you enable the iCloud Passwords in iCloud for Windows, you will be allowed to manage your passwords in the iCloud Passwords app on your Windows device. Additionally, it also lets you generate verification codes for secure two‑factor authentication.
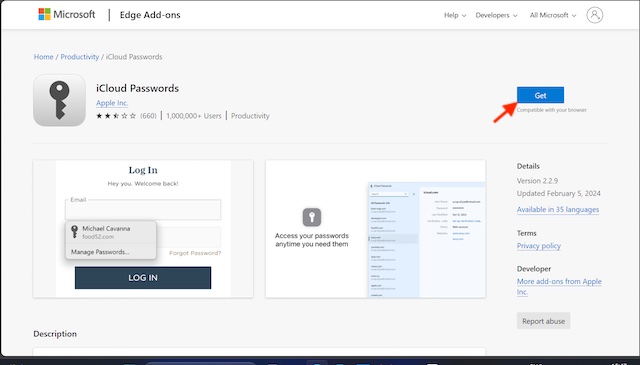
- So, ensure that you have installed both the iCloud for Windows and iCloud Passwords (extension) apps on your Windows computer.
1. Set up iCloud Passwords on Your Windows Computer
- To get started, launch the iCloud app on your Windows computer.
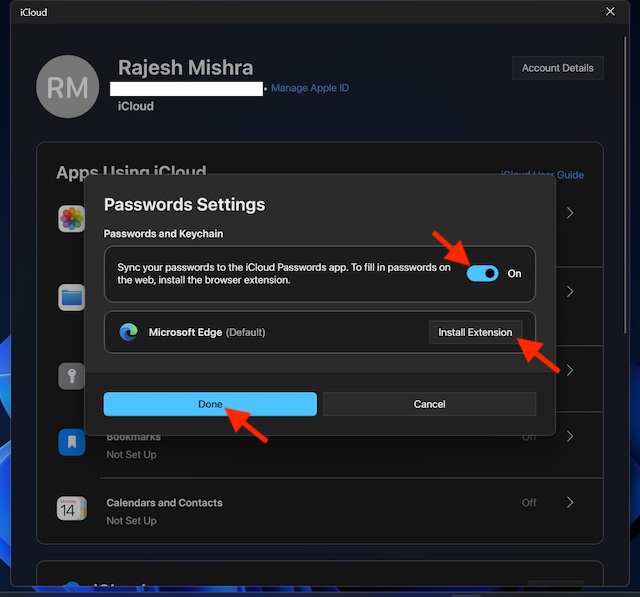
- Now, click on the arrow located to the right of Passwords and Keychain.
- Next, turn on “Sync your passwords to the iCloud Passwords app”.
- Note that in order to use the iCloud Passwords extension in a web browser, you will need to install the browser extension. Just hit the Install Extension next to the browser’s name and then go through the quick instructions to set it up.
- Finally, make sure to click on Done to finish.
- From now onward, you will be able to manage your passwords in the iCloud Passwords app.
2. View Account Information in iCloud Passwords App on Your Windows Device
iCloud Passwords app makes it pretty simple to keep track of the saved passwords.
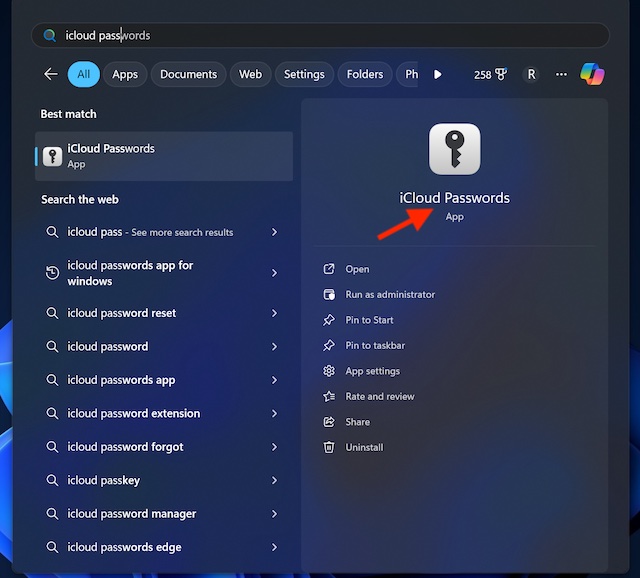
- On your PC, click on the Start menu -> search for the iCloud Passwords app, and launch it.
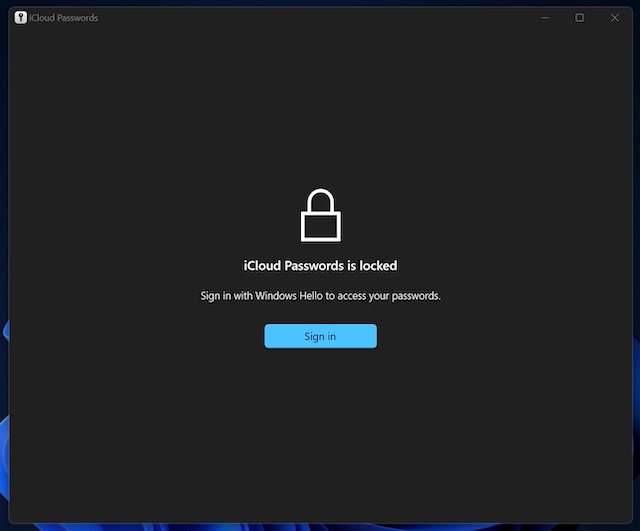
- After that, sign in.
- Now, click on the account you would like to view.
- Next, you can view your usernames, passwords, and set up the verification codes as per your needs.
3. Add an Account to the iCloud Passwords App on Windows
Adding an account to the iCloud Passwords app is dead simple.
- To do so, launch the iCloud Passwords app on your computer.
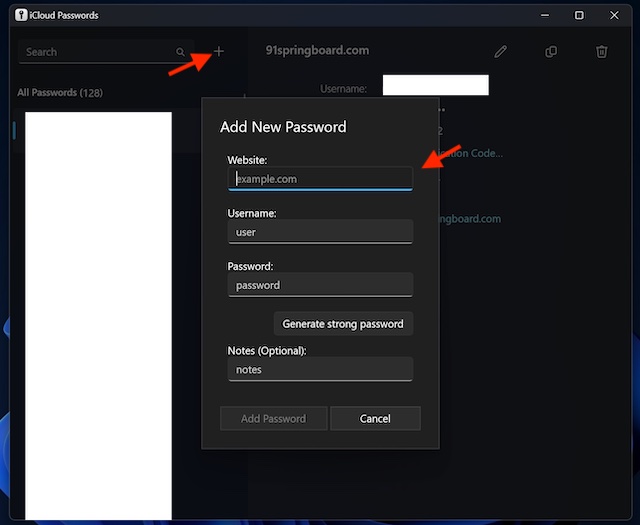
- Now, hit the Add (+) button next to the search field and then input the details like website, user name, password, etc.
- In order to enhance the security of your account with a stronger password, click on the “Generate Strong Password” button to have iCloud Passwords suggest a robust password.
- You can also make iCloud Passwords generate verification codes for a website. To do so, head over to the website in question -> copy the two‑factor authentication setup key offered by the website.
- Then, you will need to paste the setup key into the field under “Verification Code”.
- Next, click on Add Password to confirm.
4. Change Usernames and Passwords in the iCloud Passwords App on PC
Whether you want to update your usernames, change your passwords, or delete redundant verification codes, the iCloud Passwords app has got you fully covered.
Whatever changes you make inside the iCloud Passwords app on your Windows computer, they will stay updated across Apple devices that have iCloud Keychain enabled.
- To get going, launch the iCloud Passwords app.
- Select the account in question and hit the Edit button.
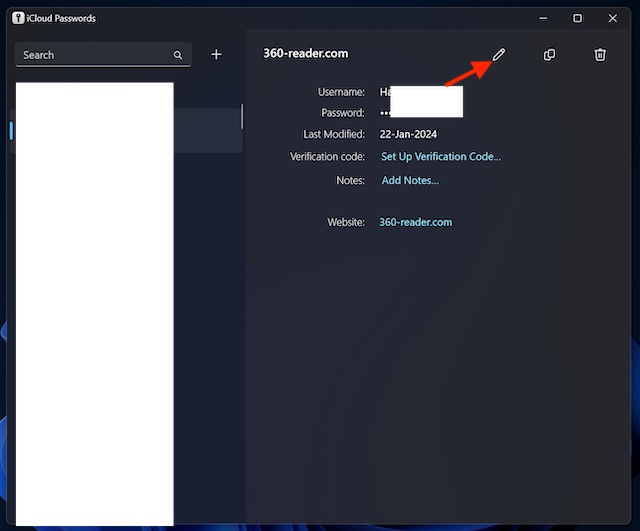
- After that, you can tweak the username, password, and also remove the useless verification codes.
- Once you have made the necessary changes, make sure to click on Save to confirm.
Edit Notes in iCloud Passwords App on Windows 11
Notably, there is also a way to customize your notes so that they remain in line with your preferences.
- First off, launch the iCloud Passwords app on your PC.
- Choose your account and hit the Edit button.
- Now, head over to the notes section and make the needed changes.
- In the end, hit the Save option to finish.
5. Delete an Account in the iCloud Passwords App on Windows
No longer want to use an account from iCloud Passwords? No worries! You can easily get rid of it. Bear in mind when an account from iCloud Passwords is deleted, it’s also removed on your Apple devices.
- Navigate to the iCloud Passwords app and ensure that you are signed in.
- Now, select the account you would like to delete.
- Then, click the Delete button and confirm.
- Alternately, right-click the website and hit Delete.
That’s all there is to using iCloud Passwords on Windows. Hopefully, you will now be able to manage your saved security keys with the desired convenience. Have got invaluable feedback to share with me? Take advantage of the comments section to shoot your thoughts.
Read more: How to Restore iPhone Backup from iTunes on Windows PC