Whether you wish to enhance your video-watching experience or read articles with complete peace of mind, dark mode comes into play. Moreover, this useful mode also protects your eyes from straining and can even boost the overall battery life of your device. That’s the reason why I thought it would be cool to talk about the way to enable and customize the dark mode on Windows 11. Keep reading…
Set Up and Customize Dark Mode on Windows 11
If you have managed to keep track of the articles that I share whether related to macOS or iOS, there is a decent chance that you will know that I have long been a die-hard fan of the dark theme. Much before tech titans had introduced this feature, I would opt for a variety of tricks like smart invert (iOS Accessibility feature) to boost my viewing.
So, as soon as I decided to switch to Windows from macOS to rekindle my old love, I wanted to bring this mode into action right from the onset. No prizes for guessing! It’s going to be on forever on my PC.
- To get started, click on the Start menu to get started.
- After that, choose the Settings icon.
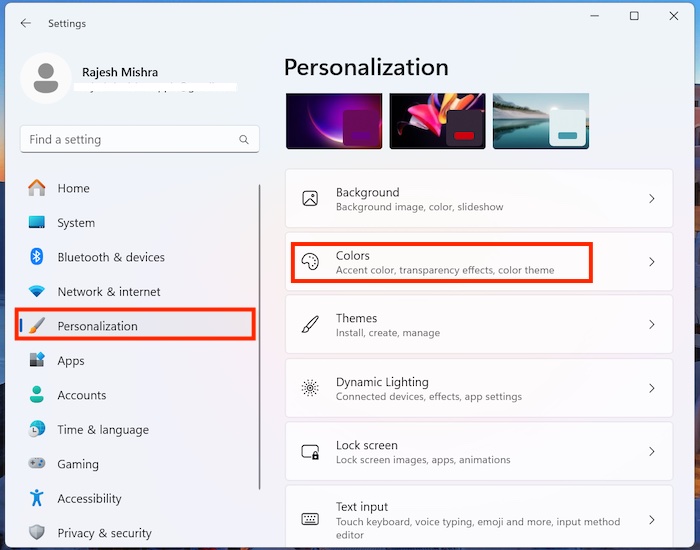
- Now, select the Personalisation option in the sidebar.
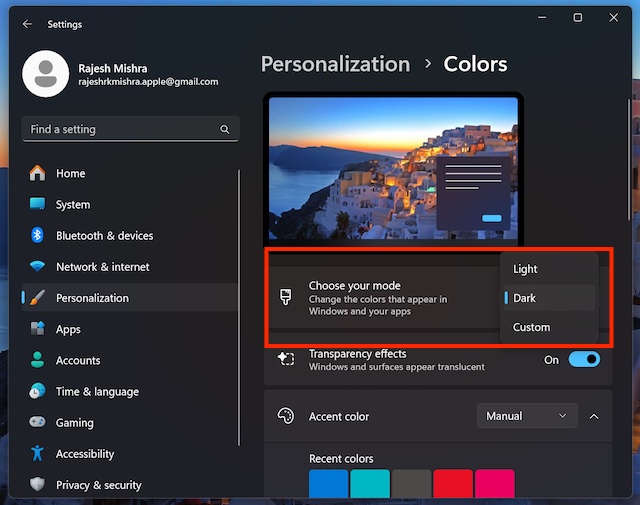
- Next, choose Colors.
- Then, click on the drop-down menu next to “Choose your mode” and then select Dark and you are all set.
The dark mode will activate instantly and turn the interface and all the supported apps pitch black so that everything will appear pleasing to the eyes.
Customize Dark Mode Based On App and Window Mode on Windows 11
Notably, there is also a neat way to customize the dark mode based on the window and app mode on your Windows device.
- To do so, head over to the Start menu on your computer -> Settings -> Personalization -> Colors.
- Hit the drop-down menu next to Choose your mode and select “Custom”.
- Now, click on the drop-down menu next to App Mode/ Window Mode and then select the Dark or Light option depending on your needs.
Disable Dark Mode on Your Windows 11 Computer
Later, if you ever want to disable the dark mode, return to the same color setting and then do the needful.
- Navigate to the Start menu -> -> Settings -> Personalization -> Colors -> Click on the drop-down menu next to Choose your mode and select Light.
There you have it! I hope you will now be able to get the most out of this beloved mode. Did you like this guide? Do share your two cents via the comments section below.
Read more: 7 Tips to Fix “Can’t Transfer Photos” from iPhone to Windows 11