Imagine you are deeply engrossed in a task on your Windows PC. Suddenly an important alert arrives and goes away even before you can figure out what it is all about. Now, you have to dive into the related app and dig through the cluster of notifications to find that specific alert. Pretty frustrating and tedious, isn’t it?
While it’s bearable once in a while, would you be fine with this unwanted drilling if it happens frequently? Most probably, you wouldn’t. Thankfully, there is a way to configure the amount of time after which notifications get dismissed on Windows 11. Keep reading…
Customize the Time When Notifications Get Dismissed on Windows PC
So, how do you customize the amount regarding the appearance of notifications on your PC? Well, slightly buried in the Accessibility setting, there is a dedicated setting for tweaking the amount of time for alerts. Interestingly, it’s not located inside the Notifications section, which would have made it more discoverable. No worries as this is where my extensive digging comes in handy.
- To get started, you need to click on the Start menu on your computer.
- After that, choose Settings to continue.
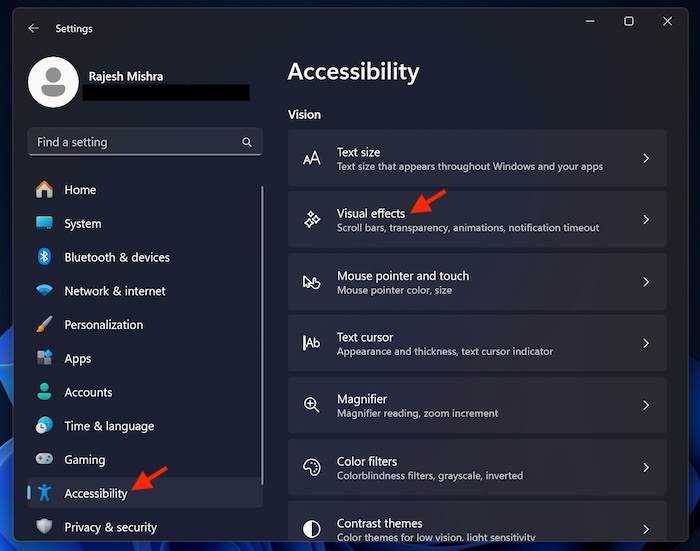
- In the left sidebar, select “Accessibility”.
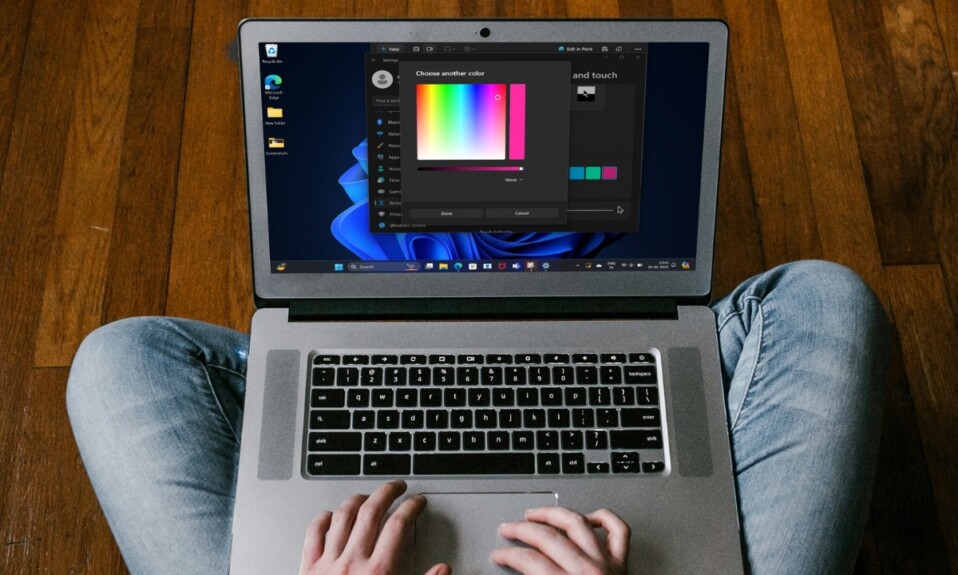
- Next, choose “Visual Effects”.
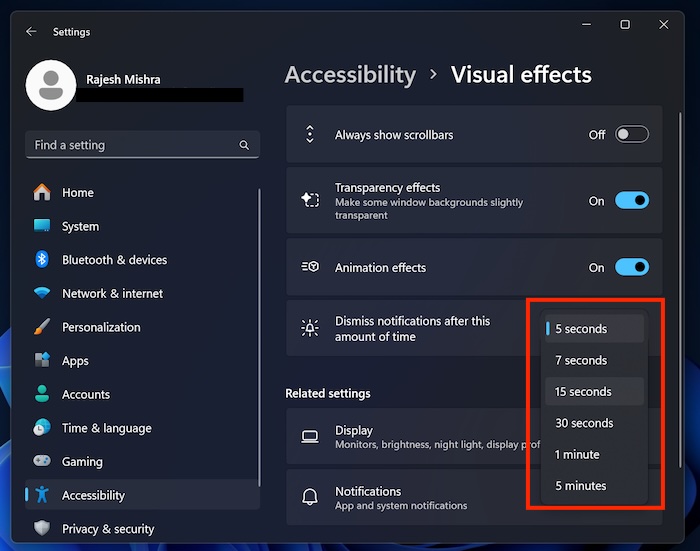
- Then, click on the drop-down menu next to “Disappear notifications after this amount of time.”
- Finally, choose the preferred time for your alerts and you are all set!
Going forward, notifications will stay on the screen in accordance with your chosen time. Hopefully, you will no longer have to head into the pileup of alerts if you ever happen to miss any alerts.
My run with Windows 11 has been by and large smooth sailing. Having tested the latest iteration of Windows, I have handpicked the 5 features that would be a great addition to macOS 15. Things like the ability to keep track of data usage, set a data limit, and a dedicated video playback setting would enrich the macOS profile or for that matter enhance the user experience.
Guess what? I’m going to line up the 5 notable macOS Sonoma features that would make Windows 12 more exciting – sooner rather than later. If you would like to check that list, make sure to stay tuned in. Besides, it would also be nice to know your picks in the comments below.
Read more: How to Automatically Sync iPhone With Windows PC Using iTunes