One of my favorite Windows 11 features is the ability to keep track of data usage. For folks who have to deal with limited bandwidth, this feature can be a lifesaver as it provides a straightforward to check the total data consumption.
Aside from letting you keep a close eye on the data usage, it even allows you to set a data limit on your PC so that your computer doesn’t gobble up a ton of data secretly by keeping you in the dark. If that’s exactly what you are looking for, this hands-on Windows tutorial is for you.
Set Data Usage Limit on Windows PC
What has pleased me the most about this useful feature is the complete control it offers. Whether you want to choose a limit type like daily or unit type or select the preferred reset day/date, it’s got you fully covered in this aspect.
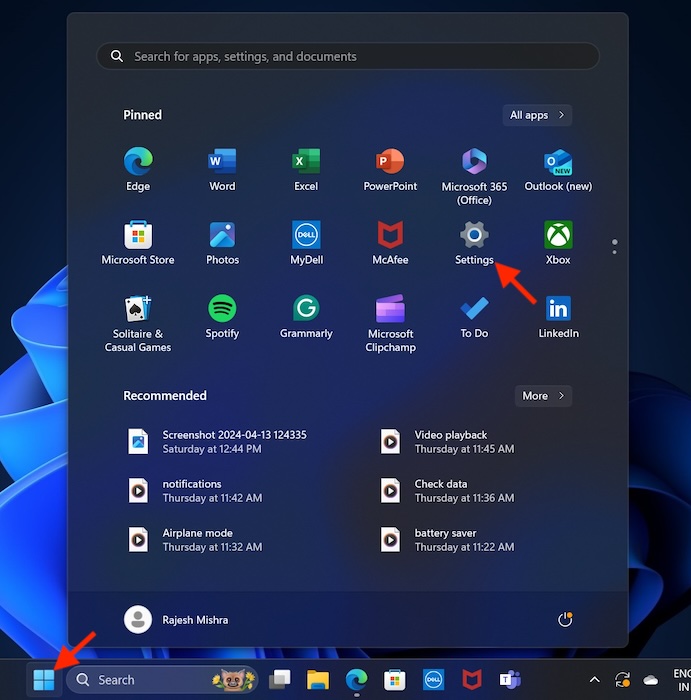
- To get started, click on the Start menu.
- After that, choose the Settings app to proceed.
- Now, choose Network & internet in the left sidebar.
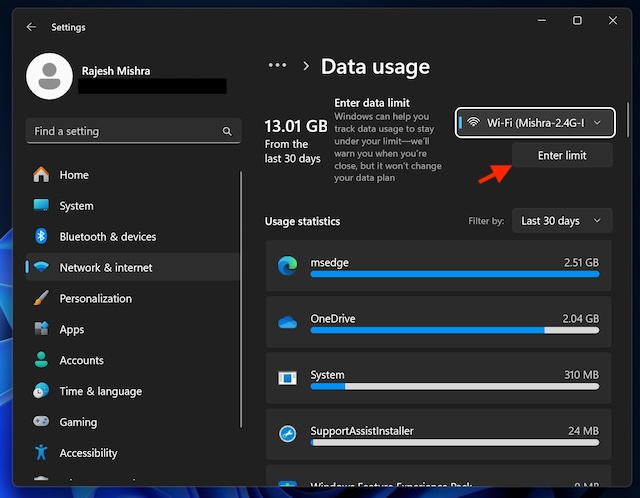
- Under the Data Usage section, you should see the total amount of data that you have used on your computer in the last 30 days.
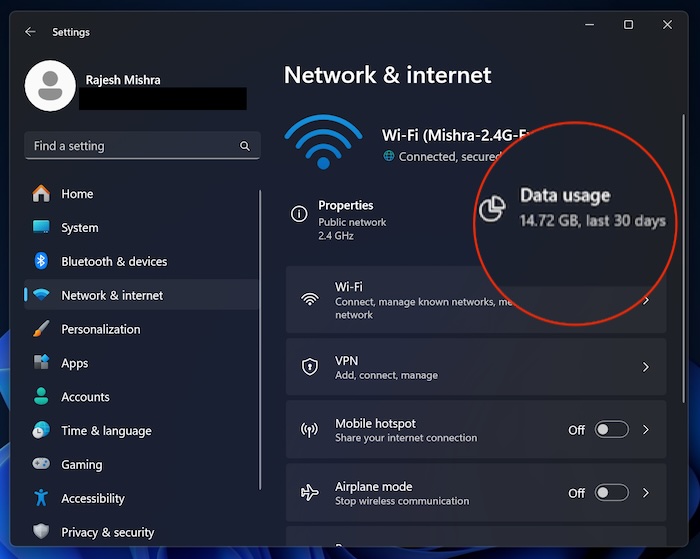
- Click on the total data usage to dive into the details.
- On the next screen, you can view the data usage statistics in the last 30 days.
- Click on the drop-down menu next to Filter By and then select an option like “Last 24 hours” or “Last 7 days” to check the data usage of the specific period.
- If you want to set a data limit, click on the Enter Limit option.
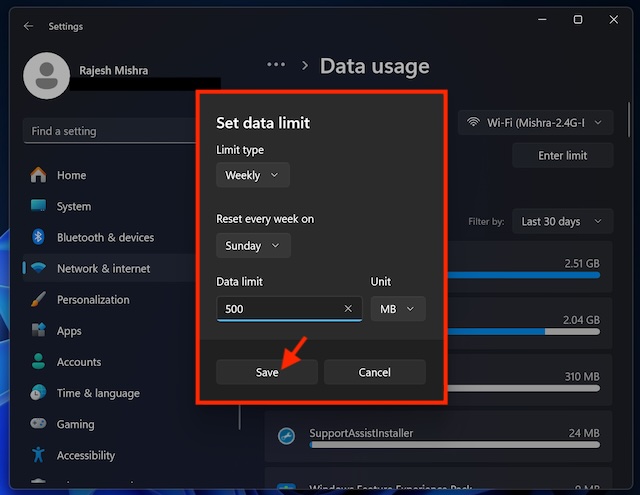
- After that, choose the preferred limit type like daily, weekly, or monthly. Then, select the Unity type like MB or GB and then enter the desired amount of data.
- Next up, you can select when the data limit will reset every month. Simply, click on the drop-down menu under the “Reset every month on” section and then choose the day/date.
- Once you have perfectly customized the data usage limit, make sure to click on the Save button at the bottom and you are good to go!
Your computer will eat only the set amount of data. Note that once the limitation has reset, you will need to customize it once again if you want the restriction to continue – of course.
Read more: 5 Windows 11 Features I’d Love to See in macOS 15