Auto-rotate is designed to let you seamlessly switch to the landscape orientation so that you can enjoy watching videos or reading articles with complete peace of mind. While the auto-rotation functionality mostly works as expected, in some rare situations, it tends to malfunction. Having come across this frustrating problem a few times, I can tell how it feels to find your iPhone stuck in the unwanted orientation. No worries! Let’s explore some of the viable ways to resolve the auto-rotate issues on iPhone.
Best Tips to Fix Auto Rotate Issues on iOS
Why does the iPhone get stuck in the portrait orientation or doesn’t switch between portrait and landscape orientations? Without downplaying other possible culprits, I can say that it is generally a byproduct of a software bug. So, getting rid of the bug can let you overcome the hurdle. Beyond this major roadblock, things like app incompatibility, outdated versions of the app, and even hardware failure might be behind this issue.
1. Make Sure That Portrait Orientation is Disabled
To begin with, ensure that the portrait orientation is disabled on your iOS device. Yeah, this suggestion might seem to be pretty funny. But I’m the sort of person who believes in checking off the basic requirements first before looking for various ways to fix the issue.
- On your iOS device with Face ID: Swipe down from the upper right corner of the screen to show the Control Center.
- On your iPhone with the Home Button/Touch ID: Swipe up from the bottom to reveal the Control Center.
- Now, tap on the Portrait Orientation icon so that it’s turned off (greyed out).
2. Ensure That the App Where You Are Trying to Use the Auto-Rotate Feature is Compatible
Note that not all apps support the auto-rotate functionality. While some apps are designed to work only in portrait orientation, others are compatible to function in both landscape and portrait orientations. Therefore, be sure that the app is on board with this feature.
3. Force Quit the App and Relaunch It
At times, force-killing and relaunching the problematic app will let you get rid of the related issues including the iPhone auto-rotate problem.
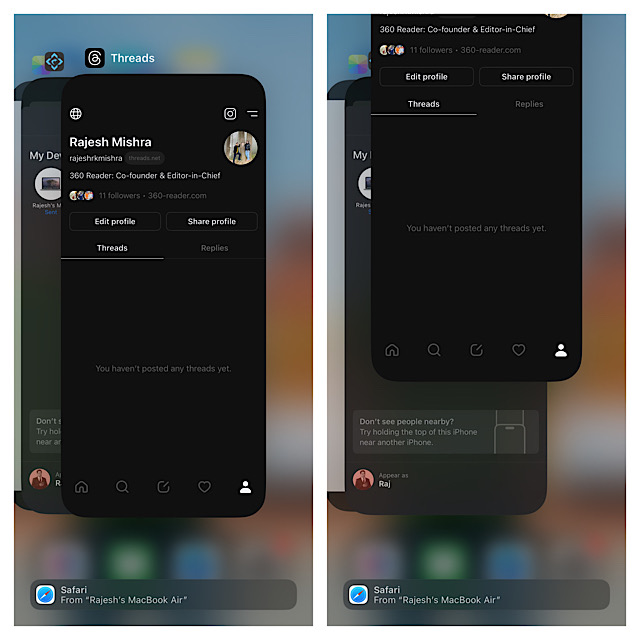
- On your iPhone without the Home Button: Swipe up from the home bar to bring up the app switcher.
- On iPhone with the Home Button: Double-press the Home button to access the app switcher.
- Then, swipe up the problematic app to force kill it.
- Now, launch the app and then tilt your iPhone in the horizontal orientation to check if the auto-rotate has kicked in.
4. Soft Reset Your iPhone
Many iPhone owners who have faced this issue have confirmed that rebooting the device temporarily fixes the issue. Hence, I would suggest you kickstart this guide with this reliable troubleshooter.
- On iPhone with Face ID: You need to press and hold the volume up/down button and the power button simultaneously. Next, drag the power off slider to shut down your iPhone. After that, hold down the power button until you see the Apple logo on the screen.
- On iPhone with Touch ID Home Button: Press the power button and then drag the power off slider to shut down the iPhone. After that, hold down the power button until the Apple logo appears on the screen.
5. Try Updating the Ill-Functioning Apps
Should the auto-rotate issue be limited to a specific app, make sure to update the app. It’s no secret that outdated apps tend to throw a ton of tantrums. That’s the reason why it’s always recommended to keep apps updated to ensure they are able to run smoothly and also have the latest tools to fight out hacking or malicious attacks.
- Dive into the Apple App Store -> Today tab -> your profile -> Now, update all apps.
6. Force Restart your iPhone
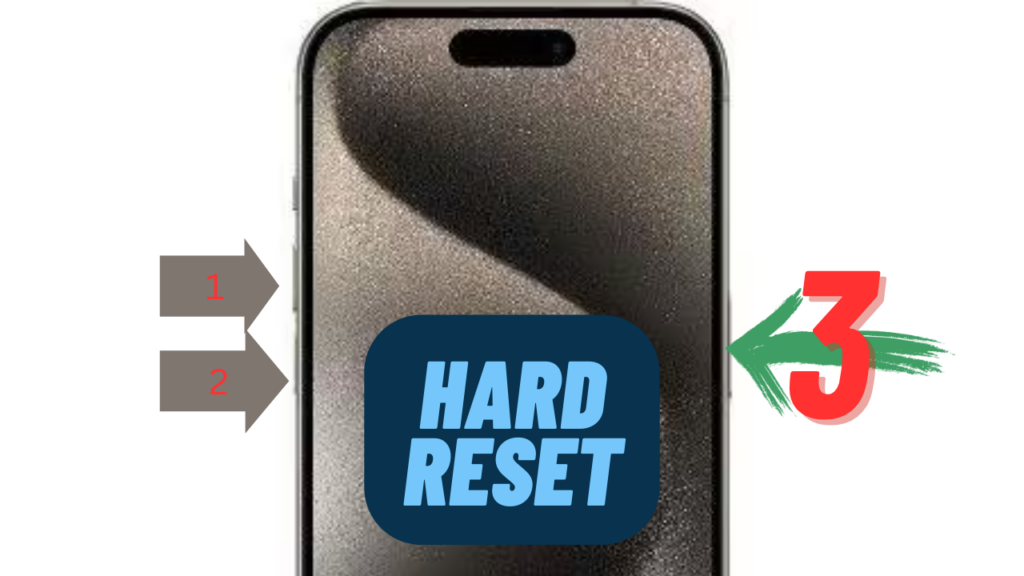
Another equally effective solution that you should try to resolve the iOS auto-rotate bug is to hard reset the device.
- To hard reset or force reset your iOS device, you need to first press and quickly release the volume up button.
- Now, make sure to press and quickly release the volume-down button of your iPhone.
- Next up, make sure to hold down the power button until the Apple logo shows up on the screen.
7. Factory Reset Your iPhone
If the auto-rotate is still not working normally, factory reset your iPhone. Though it will remove the entire custom settings such as your Wi-Fi passwords and the Home Screen layout, your media and data will stay protected.
- Go to the Settings app on your iPhone -> General -> Transfer or Reset iPhone -> Reset -> Reset All Settings.
- Input the passcode of your device -> Hit Reset All Setting to confirm.

8. Update Software on Your iPhone
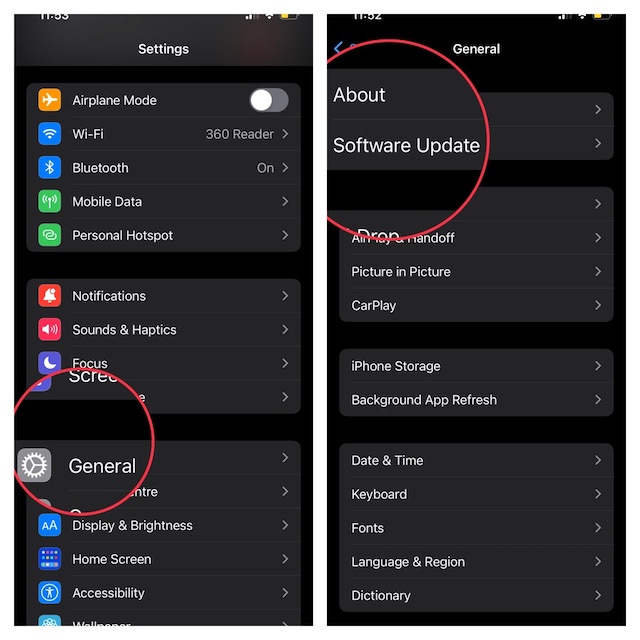
As already stated above, the auto-rotate issue could very well be due to a software update. Hence, try updating your iPhone to resolve it.
- To do so, head over to the Settings app -> General -> Software Update. After that, hit the Download and Install option.
9. Delete And Reinstall the Apps
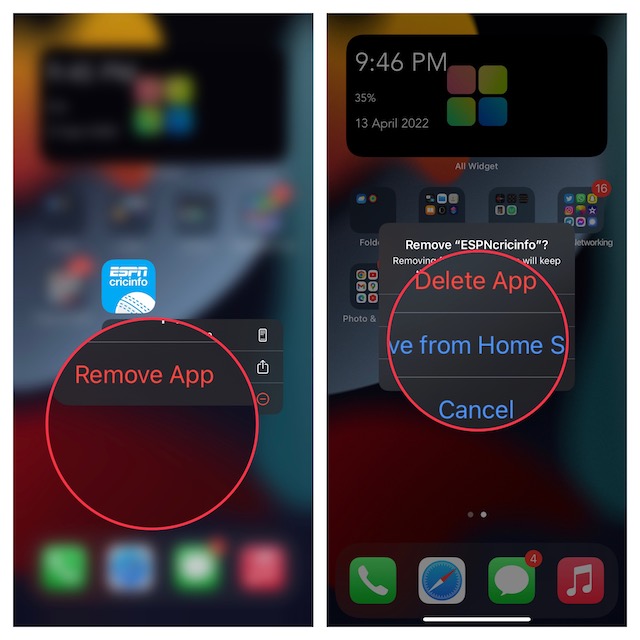
If the problem continues to vex you, delete the app and reinstall it. Many a time, this is precisely what you need to do to bring a malfunctioning app back on track. To prevent any data loss, do not forget to fully back up your data before deleting the app.
10. Contact Apple Support
If nothing has come to your rescue, there might be some hardware failure on your iPhone. In this scenario, you should contact Apple Support or any authorized service center at the earliest and get the device repaired.
Wrapping up…
There you go! I hope you have gotten the better of the auto-rotate issue on your iPhone. Would you like to let us know the solution that has enabled you to put an end to this issue?