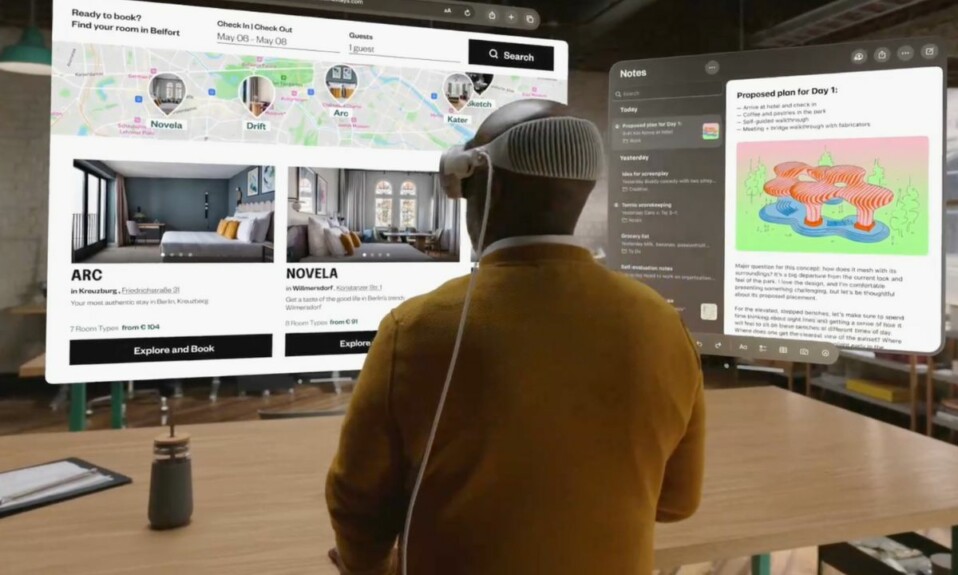
Times when you come across something fascinating, you wish to share it with your friends and dear ones. Whether it’s a fun-loving movie scene, a super handy feature, or an intriguing tip that can trigger a blitzkrieg on social networking sites, there is a lot to share – only if you know how to time it well. Thankfully, recording a view on Apple Vision Pro is a piece of cake. Read on…
How to Record the Screen on Apple Vision Pro With Ease
To begin with, let’s shed some light on how the built-in screen recorder works on the mixed-reality headset!
So, how does screen recording work on the Apple Vision Pro?
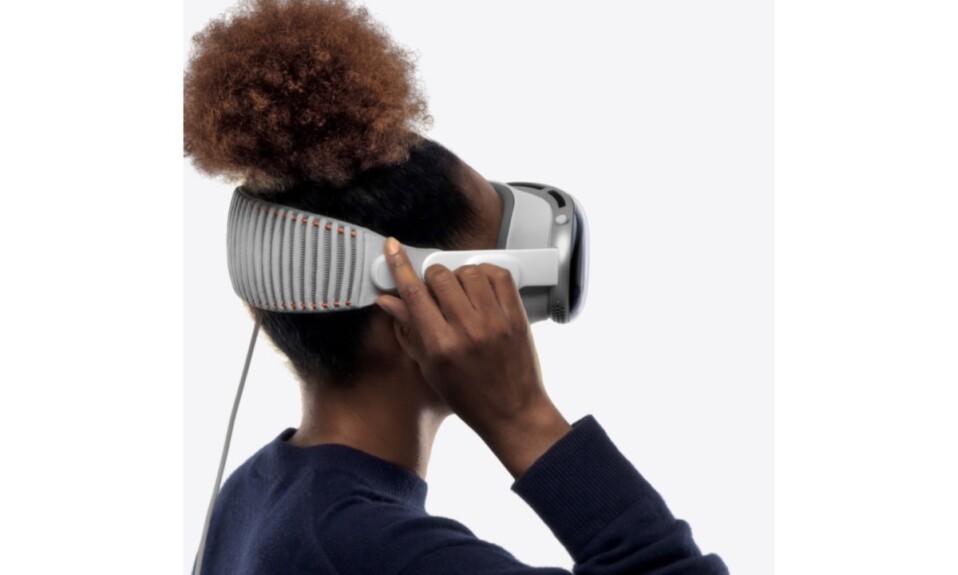
To put it straight, recording a screen on the Apple Vision Pro is as intuitive and simple as it is on iPhone and iPad. And if you are already daily driving an iOS device, you will find the going incredibly straightforward. Spoiler alert! It’s just a “Control Center” affair. So long as the built-in screen recorder is added to the Control Center, you can just tap on this control to get started.
However, unlike iOS, visionOS doesn’t offer you the option to directly upload your recording in third-party apps like Facebook, Instagram, Gmail, and more. But bother not! This is just a matter of time before third-party will begin to support this feature.
Not that the lack of support from third-party apps for the native screen recorder is a deal breaker, it enhances the whole experience. Hopefully, this minor loophole gets sorted out sooner rather than later.
How to Add the Screen Recording Control to the Control Center on the Apple Vision Pro
- Before recording the screen on your Vision Pro, ensure that you have added the screen recorder to the Control Center.
- To get it done, head over to the Settings app on your Vision Pro -> Control Center -> Find the screen recorder and then hit the “+” button next to it.
How to Record Your View on Apple Vision Pro
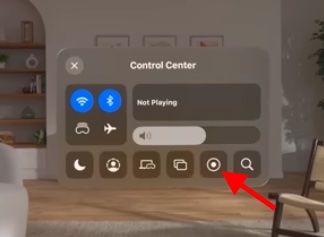
- Once you have added the screen recorder to the Control Center on your headset, look up and then hit the downward pointing arrow near the top of your view.
- Now, tap on the Control Center button.
- After that, tap on the Record button and you are all set!
- Next, a countdown will kickstart.
- Your recording will kickstart as soon as the countdown ends.
2 Ways to Quickly Stop Recording Screen on Your Vision Pro
There are a couple of easy ways to stop the screen recording on the Vision Pro.
- To do so, just tap on the Record button again in the Control Center.
- Alternatively, tap on the red status bar at the top of your view and then hit the Stop button in the popup to confirm the action.
Read more: How to Take a Screenshot on Apple Vision Pro