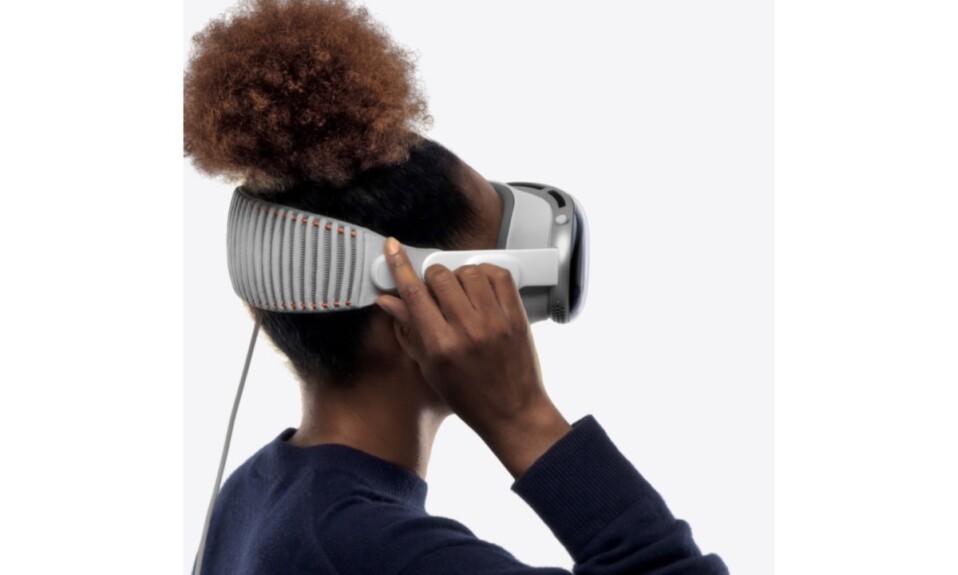
Whether you are getting ready to sell your Apple Vision Pro, trade the mixed-reality headset, or just give it to someone else, do not forget to wipe out the headset beforehand. Bear in mind that when you delete any data on the Vision Pro, it stops showing in apps. However, the data remains available in the headset’s storage. That means the only secure way to get rid of the entire traces of data permanently is to erase your Apple Vision Pro. Read on to…
Erase Your Apple Vision Pro Without Losing Any Data
To begin with, let’s first check off all the prerequisites so that your personal information remains secure.
Before Erasing Your Apple Vision Pro, Tick Off These Key Points
1. Make Sure to Fully Back Up Your Data Before Wiping Out Your Apple Vision Pro
It goes without saying, doesn’t it? Ensure that you have fully backed up your Apple Vision Pro to iCloud. It will keep your personal data secure and readily available across devices. Moreover, if you intend to switch to another Apple Vision Pro, the handy setup assistant will let you restore the backup to your new Apple Vision Pro seamlessly.
- Dive into the Settings app on your Vision Pro -> your name -> iCloud.
- Now, select iCloud Backup -> Back Up Now.
- Wait until your data has been backed up successfully. As to how long it will take for iCloud to secure your data, it entirely depends on the file size and your internet speed.
2. Sign Out of iCloud, App Store, and iTunes
Be sure to sign out of the App Store, iTunes Store, and iCloud without fail. For enhanced security, I would recommend you eliminate all content and settings that consist of your personal information.
- To do so, navigate to Settings -> your profile photo -> scroll down and tap on Sign Out.
- Now, input your Apple ID password and tap on “Turn Off”.
3. Turn OFF Find My
Another important thing that you should do before erasing and giving away your Vision Pro to someone else is to disable Find My.
- On your Apple Vision Pro, head over to the Settings app -> your profile -> iCloud.
- Now, tap on Find My Vision Pro and then turn off the toggle.
4. Prepare Your Content and Settings to Transfer to a New Apple Vision Pro
If you would like to prepare your content and settings in order to seamlessly migrate to a new Apple Vision Pro, go through the steps below:
- To get started, launch the Settings app -> General -> Transfer or Reset This Apple Vision Pro.
- After that, Tap on Get Started and then follow the instructions to complete the whole process.
Erase All Content and Settings on Apple Vision Pro
Once you have taken care of the basics, it’s time to move ahead and wipe out the entire headset.
- To get going, launch the Settings app on your Vision Pro -> General -> Transfer or Reset This Apple Vision Pro.
- Now, tap on Erase All Content and Settings and confirm the action.
Signing off…
Courtesy of the deep interaction with the Apple ecosystem, Vision Pro works in sync with other iDevices including iPhone, iPad, and Mac. Once you have gotten a good grip on the basic gestures, you can handle the AR/VR headset with ease. Moreover, Vision Pro’s settings have striking similarity with those of other iDevices, which plays a vital role in enhancing the overall experience.
Read more: How to Securely Force Restart Your Apple Vision Pro


