Let’s face it! Most of us have fumbled during a high-profile presentation at some point or the other. Frankly speaking, I have had some embarrassing moments as well. While there are a number of dos that can make your presentation impressive, the one thing that can help ward off unexpected hiccups is the flexibility to take a preview of the content that you are about to share – with the desired discretion. Well, this is where FaceTime’s “Presenter Preview” comes into the reckoning in macOS 15 Sequoia.
Enable and Use FaceTime Presenter Preview on macOS 15 Sequoia
Before moving ahead, let’s put some more light on this macOS Sequoia feature.
What Exactly is Presenter Preview and Why It Can Be Your Life Saver?
So, how does “Presenter Preview” work in macOS Sequoia? The sole purpose behind this new add-on is to endow you with much-needed control over the screen that you will share next. Hence, you can keep track of the upcoming screen and be fully prepared to present it by staying in sync with the required pitch, speed, and flow. And that too by offering the extra layer of shield to your privacy.
Whether you would like to get rid of an irrelevant window or wish to add something that you missed out on at the last moment, the presenter preview has got you fully covered. No more out-of-the-blue screen – not when perfection is deemed to be the only way to go to seal the coveted deal!
Use Presenter Preview in FaceTime on Your Mac
- To get started, launch the FaceTime app on your Mac and join a video call or kickstart a new one as usual.
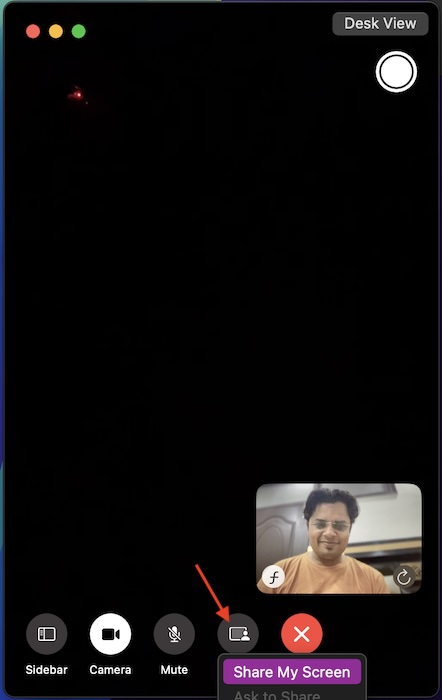
- Now, hit the Share icon that appears in the bottom-left corner of the screen and choose “Share My Screen”.
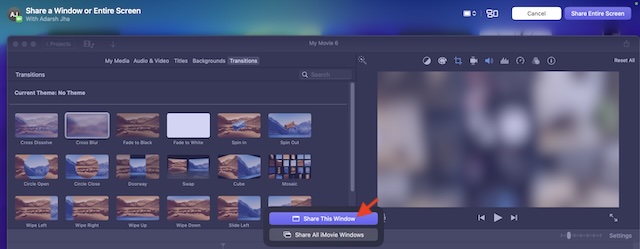
- Then, head over to the app windows you would like to share. As soon as you hover to the window, it will be highlighted so that you can preview it at your own pace.
- Next, click the “Share this Window” option to share it.
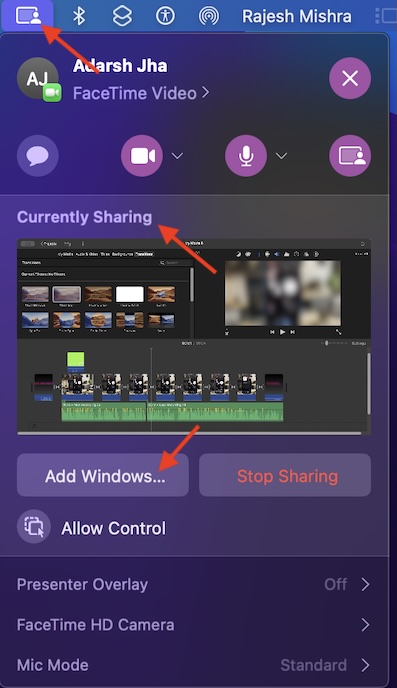
- When you are ready with screen sharing, hit the presentation icon in the menu bar.
- In order to view all the app windows that you are sharing, click the “Currently Sharing option.
- Next up, hit the “Minus” icon in the top-left corner of a specific app window that you don’t want to share in the video call.
- To share more apps, hit the presentation icon again and click Change.
- Up next, navigate to the new app window you would like to share and click Add This Window.
And that’s pretty much it! Now, you can share your screen with better control and complete peace of mind. Having unlocked this pretty neat feature, make the most of it to enhance your presentation experience through FaceTime. If you find this feature misbehaving or come across something worth sharing, feel free to put it across via the comments section below.
Read more: 46 Best iOS 18 Hidden Features: Time to Dig Deeper!